If you have installed the 2010 Information Worker Demonstration and Evaluation Virtual Machine on VMware and want to add the Project 2010 Demonstration and Evaluation Pack. The installation wizard is simple to follow and generally works well.
There are two things you must due to ensure the installation goes well. First thing is that you must activate the VM or you may get an ‘Unexpected Error’.
The instructions recommend installing a second network adaptor but what I did was simply to add an alternate DNS to the existing one. It appeared to me that the only purpose of the second adaptor was for the outbound HTTP traffic during the activation of the VM, therefore simply adding one of my Internet Providers external DNS was sufficient for this purpose. You can find your own provider’s DNS from the configuration settings of your router.
The second thing to keep in mind is the network configuration. The Information Worker VM is configured with an Internal Virtual Network and expects the address of the DEMO2010A VM to be 192.168.150.1
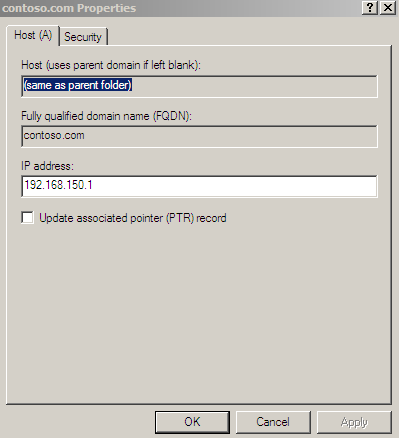
I like to set my network in Bridged (Autodetect) mode to more closely resemble my production environment and therefore required modifications to the DNS of the DEMO2010-a VM
If you notice right after the installation of the Information Worker VM the Forward Lookup Zones have the entries for the DEMO2010-a and DEMO2010-b as 192.168.150.1 and 192.168.150.2.
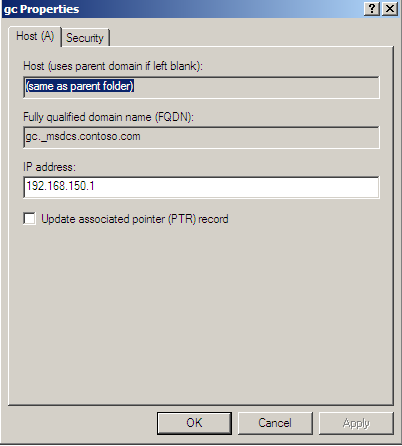
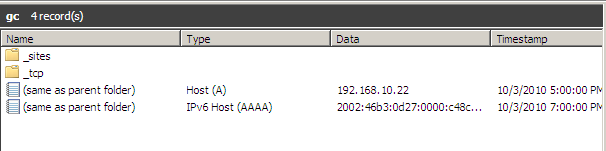
You will find corresponding entries in the GC records on the DNS.
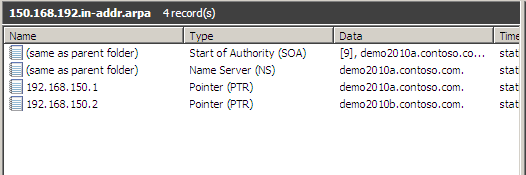
Since I had modified the IP settings of both VMs machines I need to update the GC, Forward Lookup and Backward Lookup Zones accordingly.
After downloading the Project2010\Project2010DemoPack.iso and mounting the volume you will have the following files. Copy them into a temporary folder.

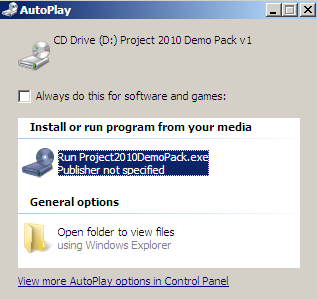
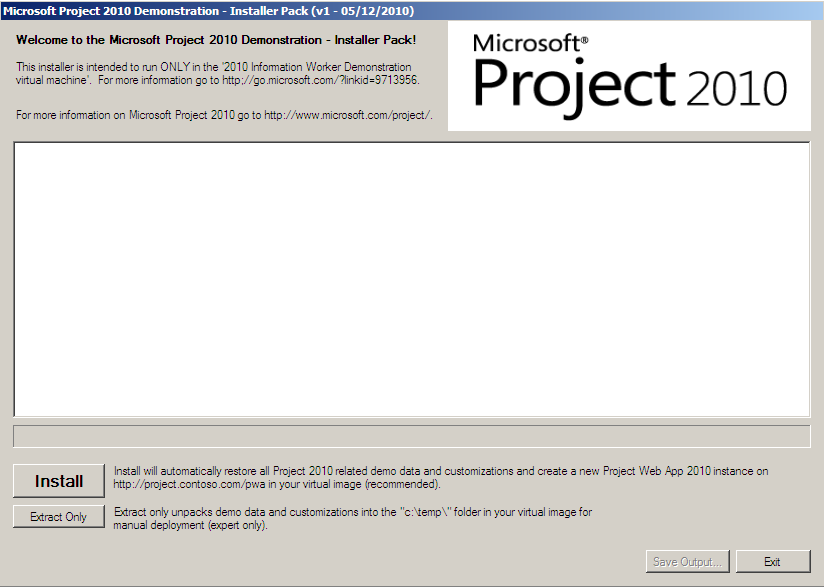
Mount the Project2010DemoPack disk image and the run the Projct2010DemoPack in the AutoPlay dialog window.
Click on the Install button in the Welcome Screen.
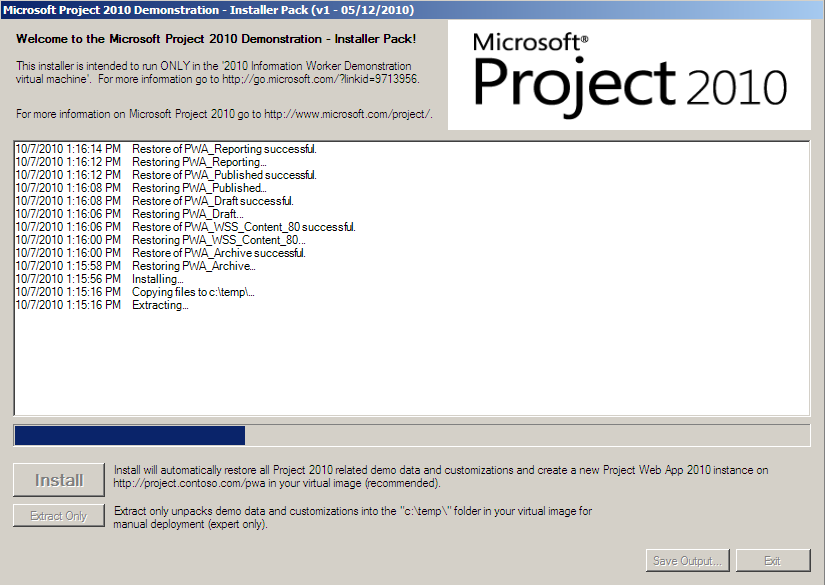
Allow it to unpack and execute the installation.
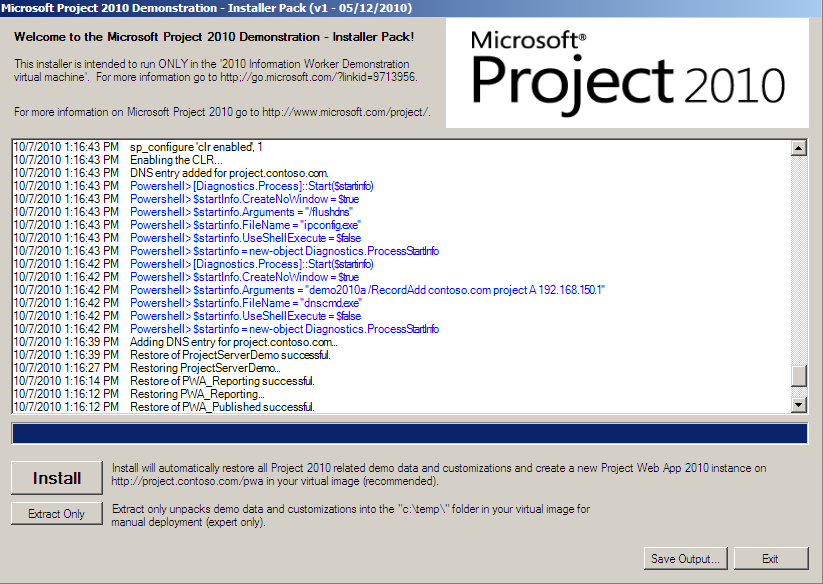
The PowerShell of the installation wizard will use the entries in the DNS to set up the projct.contoso.com/pwa
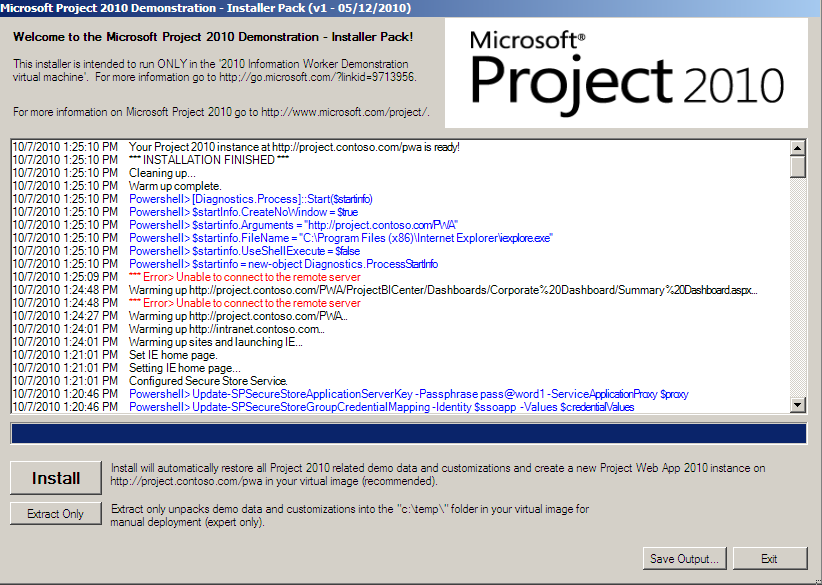
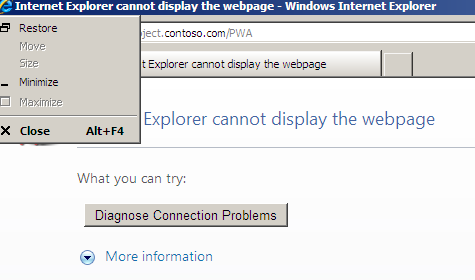
If you did not update your GC, Forward Lookup and Backward Lookup records to your Bridged IP addresses then the installation wizard will fail when it tries to connect to project.contoso.com/PWA because it will be looking for it in the 192.168.150.1 address.
and when you try to connect to PWA you will not be able to find the page
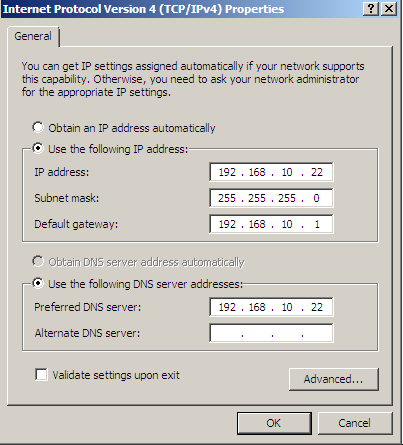
When this happens simple update your DNS entries with the IP addresses of the machine. I have set up both of my DEMO2010 VMs to have static addresses
I removed the GC records and added the new ones with the designated IP addresses.
You need to also update the ForwardLookup and Reverse Lookup Zones in the DNS

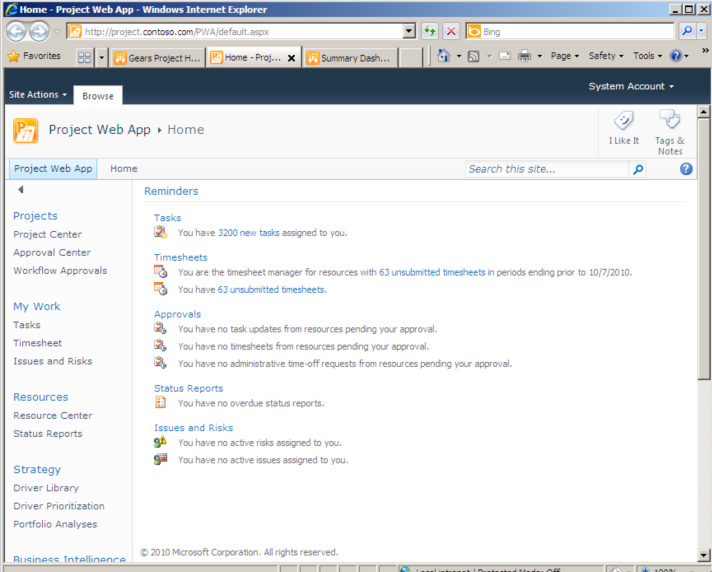
After making these updates to the DNS I ran the installation wizard again and the Project Server 2010 PWA Home Page came up right this time.
For additional SharePoint and Project Server related articles visit my website at
No comments:
Post a Comment